Installing a new roof or replacing an existing one is a significant project for any homeowner or business. It not only enhances the aesthetic value of a property but also ensures long-term protection against the elements. Understanding the roofing installation process helps property owners feel more confident in the decisions they make and what to expect from roofing professionals. Here is a detailed breakdown of the key stages involved in the roofing installation process.
1. Initial Consultation and Assessment
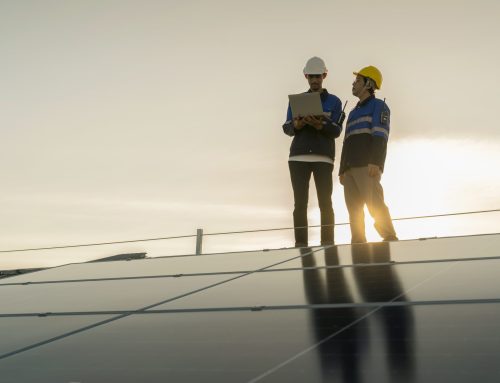
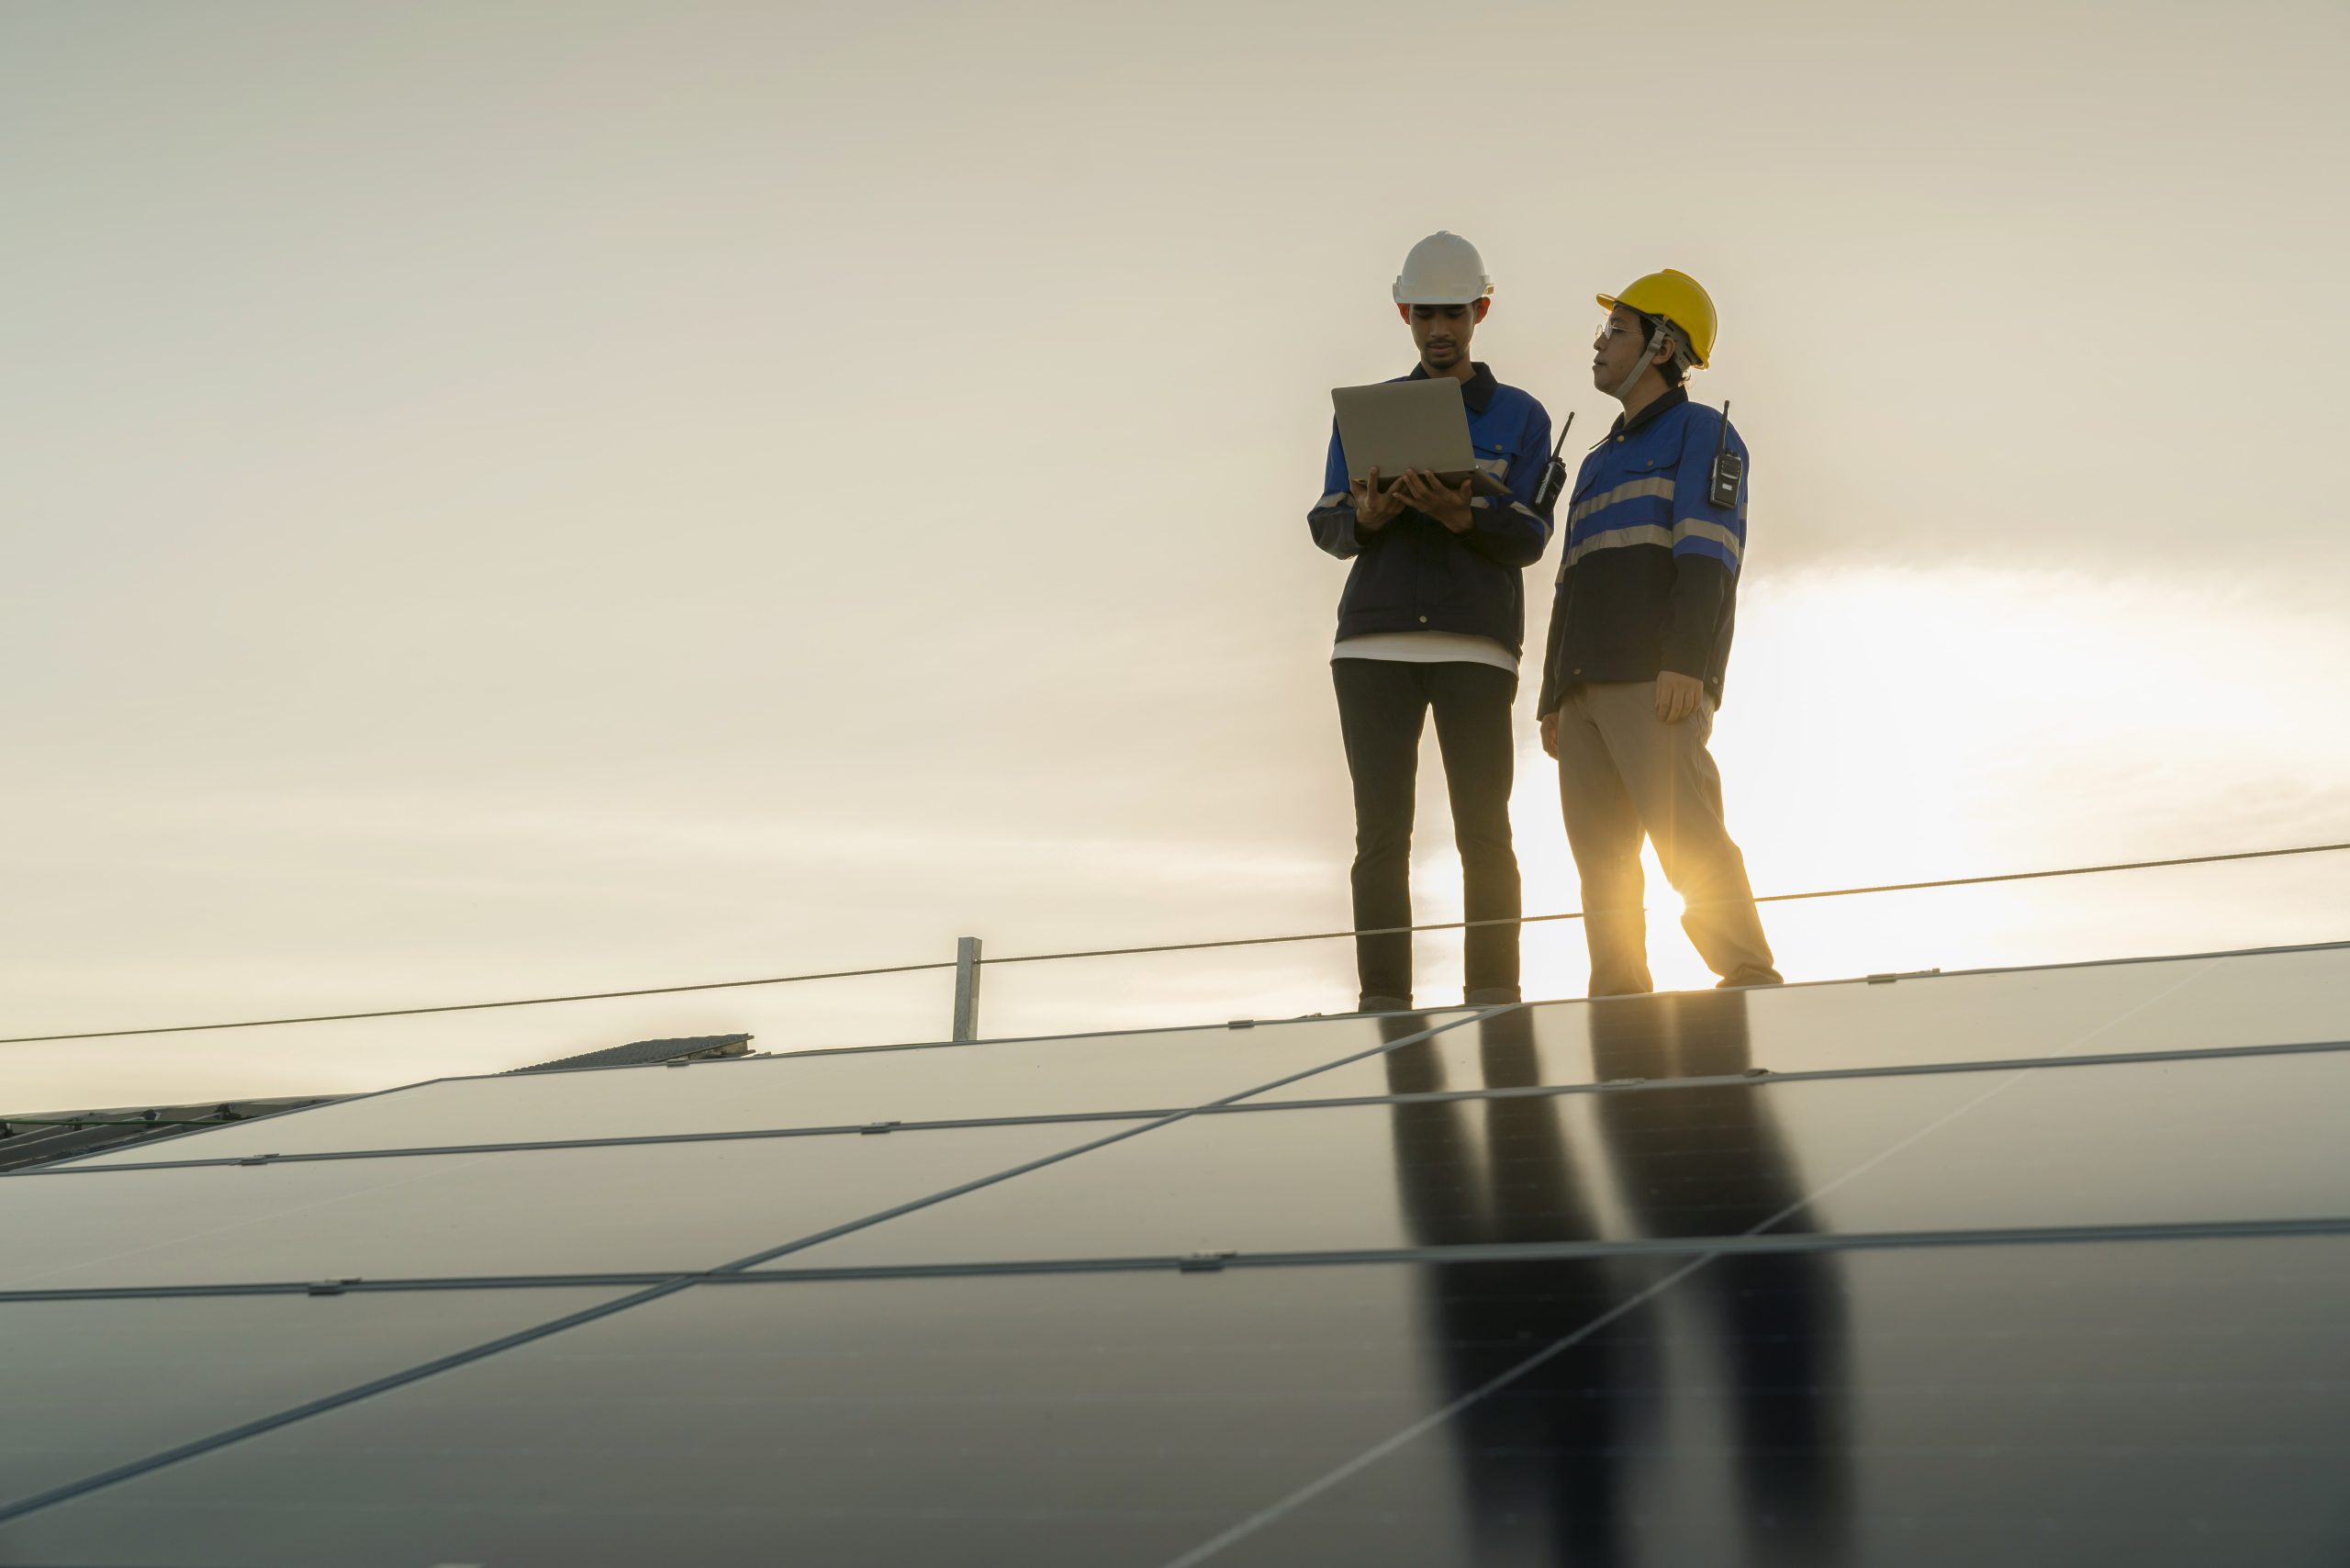
The first step in any roofing project is a consultation with the roofing contractor. During this stage, the roofing company will assess your specific needs and inspect your existing roof. This inspection helps the contractor determine the condition of the current roof, identify any underlying issues (such as leaks or structural damage), and suggest the most appropriate solutions.
The assessment also includes evaluating the type of roofing materials that would be most suitable for your property, depending on factors like climate, budget, and the building’s design. At this stage, the homeowner will also discuss the timeline, cost, and expected outcomes with the contractor.
2. Choosing the Right Roofing Materials
Once the assessment is complete, the next step involves selecting the roofing materials that will be used for the installation. Several roofing materials are available, and the choice can depend on factors such as aesthetic preference, durability, weather resistance, and cost. Here are some popular options:
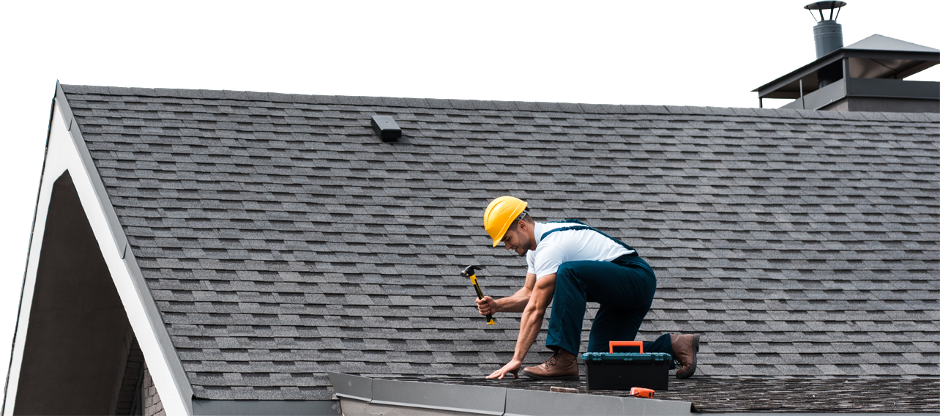
- Asphalt Shingles: The most commonly used material in residential roofing due to its affordability and versatility.
- Metal Roofing: Known for its durability, energy efficiency, and resistance to extreme weather conditions.
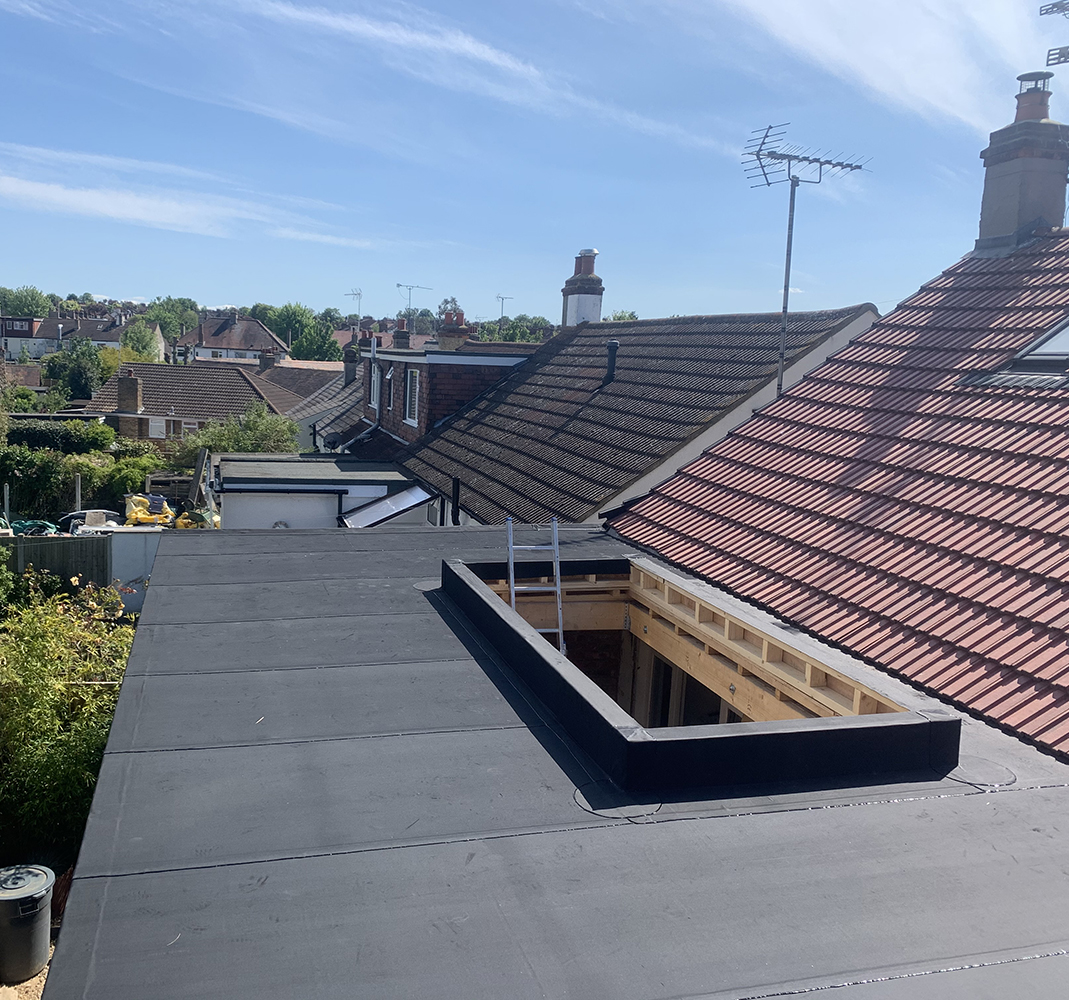
- EPDM (Ethylene Propylene Diene Monomer): A popular material for flat roofing, such as Southend City Roofing’s Resitrix EPDM single-ply membrane, valued for its flexibility and weather resistance.
- Slate or Tile Roofing: These materials offer a classic look and are highly durable but can be more expensive.
- Wood Shingles or Shakes: Provide a rustic aesthetic, although they may require more maintenance compared to other materials.
3. Roof Removal and Site Preparation
If you are replacing an old roof, the next step involves removing the existing roofing materials. This is a critical part of the process, as it allows the roofing contractor to inspect the roof’s decking (the structural base of the roof) for any hidden damage, such as rot or mould.
The removal process involves:
- Stripping off the old shingles, tiles, or other materials.
- Cleaning the roof surface to prepare it for the installation of new materials.
- Repairing or replacing any damaged decking to ensure a solid foundation for the new roof.
Proper site preparation also includes protecting the surrounding areas, such as landscaping, from falling debris and ensuring safety measures are in place.
4. Installing the Roofing Underlayment
Before the new roofing materials are installed, the contractor will apply a roofing underlayment, which is a protective layer that serves as a moisture barrier between the decking and the outer roofing material. The underlayment is crucial for preventing water penetration in the event of rain or snow. There are different types of underlayment materials, including felt paper and synthetic underlayment, which provide additional protection from moisture and heat.
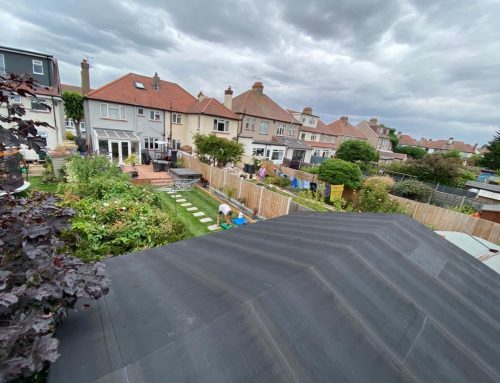
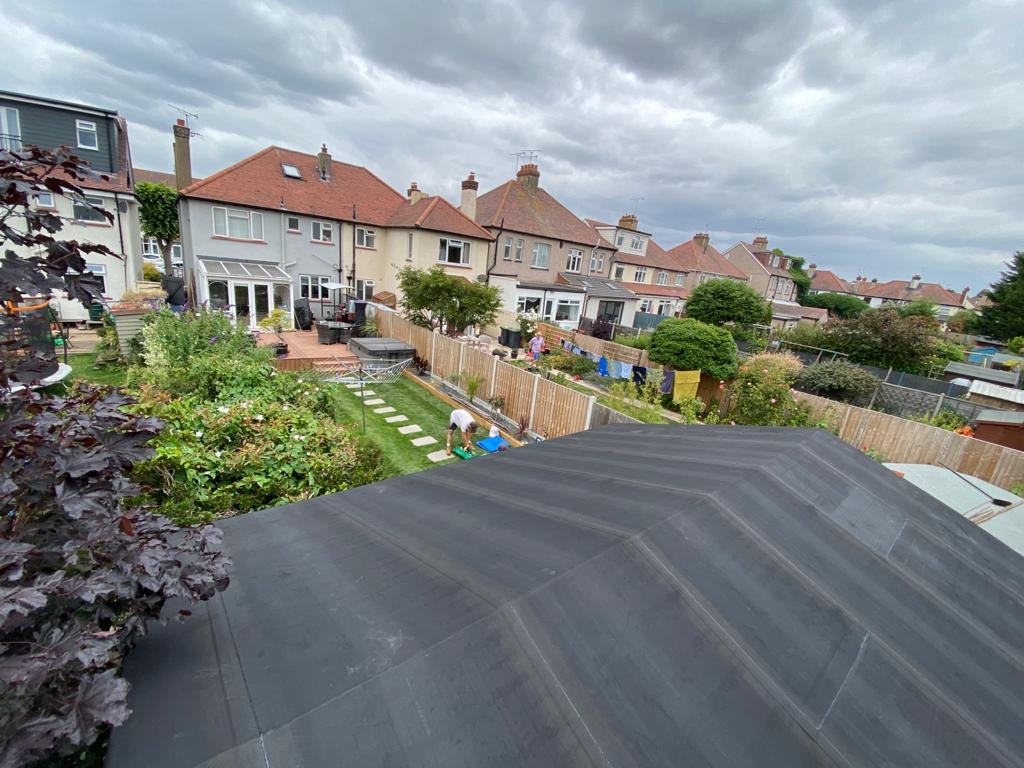
For flat roofs, specialised waterproofing membranes such as EPDM or TPO (Thermoplastic Polyolefin) are used to provide a highly durable, weather-resistant surface.
5. Installing the New Roof
Once the underlayment is in place, the primary roofing material is installed. The method of installation will vary depending on the material chosen, but typically follows these steps:
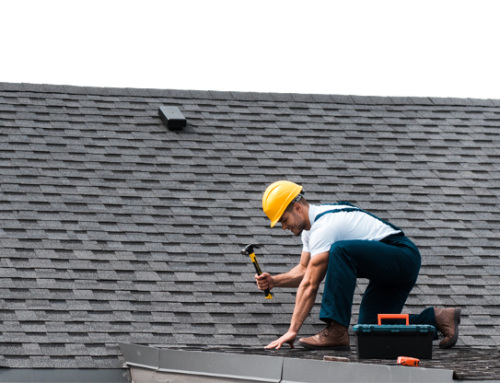
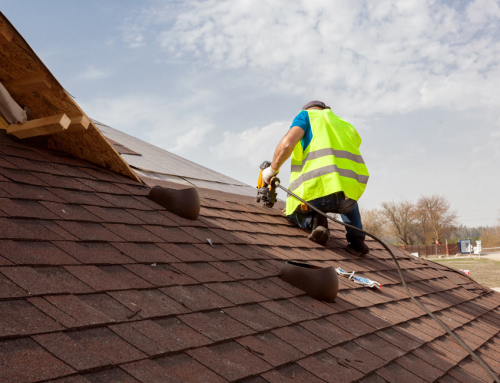
- Shingle Installation: For asphalt or wood shingles, the installation process begins from the bottom edge of the roof and works upwards. The shingles are overlapped to create a watertight barrier. Special attention is given to valleys, hips, and ridges, which are vulnerable areas for leaks.
- Metal Roofing Installation: Metal panels are installed by aligning and securing them to the roof deck, with proper sealing to prevent leaks. Metal roofing often requires fewer seams, which enhances its waterproofing capabilities.
- Flat Roofing Installation: Materials like EPDM or TPO are rolled out over the underlayment and adhered to the surface. These membranes are heat-welded or glued to create a seamless barrier, ensuring excellent water resistance and durability.
6. Flashing and Ventilation in Roofing
After the primary roofing material is installed, the next step involves installing roof flashing. Flashing is essential in preventing water infiltration at key junctions on the roof, such as around chimneys, skylights, valleys, and vents. Proper flashing installation ensures that water is directed away from these vulnerable areas.
Equally important is roof ventilation. Proper ventilation helps regulate attic temperature and prevents moisture build-up, which can cause mould and reduce the roof’s lifespan. Common types of roof vents include ridge vents, soffit vents, and gable vents.
7. Gutters and Downspouts
While not part of every roofing installation, many homeowners take the opportunity to upgrade or install new gutters and downspouts alongside their roof installation. Properly functioning gutters ensure that rainwater is effectively directed away from the home’s foundation, preventing water damage and soil erosion. Installing gutters at this stage also helps ensure that the entire roofing system works seamlessly together to protect your home.
8. Final Inspection and Clean-Up
Once the roof installation is complete, a final inspection is conducted to ensure that all materials have been installed correctly and that the roofing system meets local building codes and manufacturer specifications. The roofing contractor will also ensure that all flashings, vents, and other elements are secure and properly sealed.
After the inspection, the job site is cleaned of debris, nails, and materials. A professional roofing contractor will leave your property looking just as clean as before the work began.
9. Ongoing Roofing Maintenance and Warranties
The final step in the roofing process is ongoing maintenance. Regular inspections and maintenance are essential to ensuring your roof continues to protect your property effectively. Many roofing companies, including Southend City Roofing, offer warranties on both materials and workmanship. Make sure to understand the terms of your warranty and schedule regular roof inspections to catch any potential issues before they become major problems.
Conclusion
In conclusion, the roofing installation process is a complex, multi-step procedure that requires careful planning and skilled execution. By understanding each phase of the process—from consultation to final inspection—homeowners can make informed decisions and ensure they receive the highest quality roof installation. A well-installed roof not only enhances the safety and value of your property but also provides long-lasting protection against the elements.

Leave A Comment